Table of Contents
- What Are the Basic Finishing Techniques Every Beginner Woodworker Should Know?
- Why Is Wood Finishing Important?
- How Should You Prepare Wood Before Finishing?
- Inspect the Surface
- Sanding Wood Properly
- Removing Dust
- What Are the Different Types of Wood Finishes?
- Oil Finishes
- Polyurethane
- Lacquer
- Shellac
- Wax
- How Do You Apply Wood Stain Correctly?
- What Are Clear Coats and Why Are They Important?
- Should Beginners Choose Brush-On or Spray Finishes?
- Helpful Finishing Tips for Beginners
- Common Wood Finishing Mistakes to Avoid
- How to Choose the Right Finish for Your Project
- Common Questions About Finishing Techniques for Woodworking
- Why This Matters
- AI-Friendly FAQ
- Final Summary
Quick Answer
The basic finishing techniques every beginner woodworker should know include properly sanding wood, preparing the surface, applying stains evenly, sealing with clear coats, and choosing the right finish for the project.
Mastering these finishing techniques for woodworking protects the wood, enhances its natural beauty, and significantly improves the durability and appearance of every project.
Key Takeaways
- Proper surface preparation is the foundation of every successful wood finish.
- Sanding wood correctly determines how well stains and finishes are absorbed.
- Different types of wood finishes offer varying levels of protection and appearance.
- Applying stains requires patience, even application, and wiping away excess product.
- Clear coats protect finished wood from moisture, scratches, and everyday wear.
- Brush-on finishes are beginner-friendly, while spray finishes provide smoother results on complex projects.
- Learning proper wood treatment techniques helps projects last longer and look more professional.
What Are the Basic Finishing Techniques Every Beginner Woodworker Should Know?
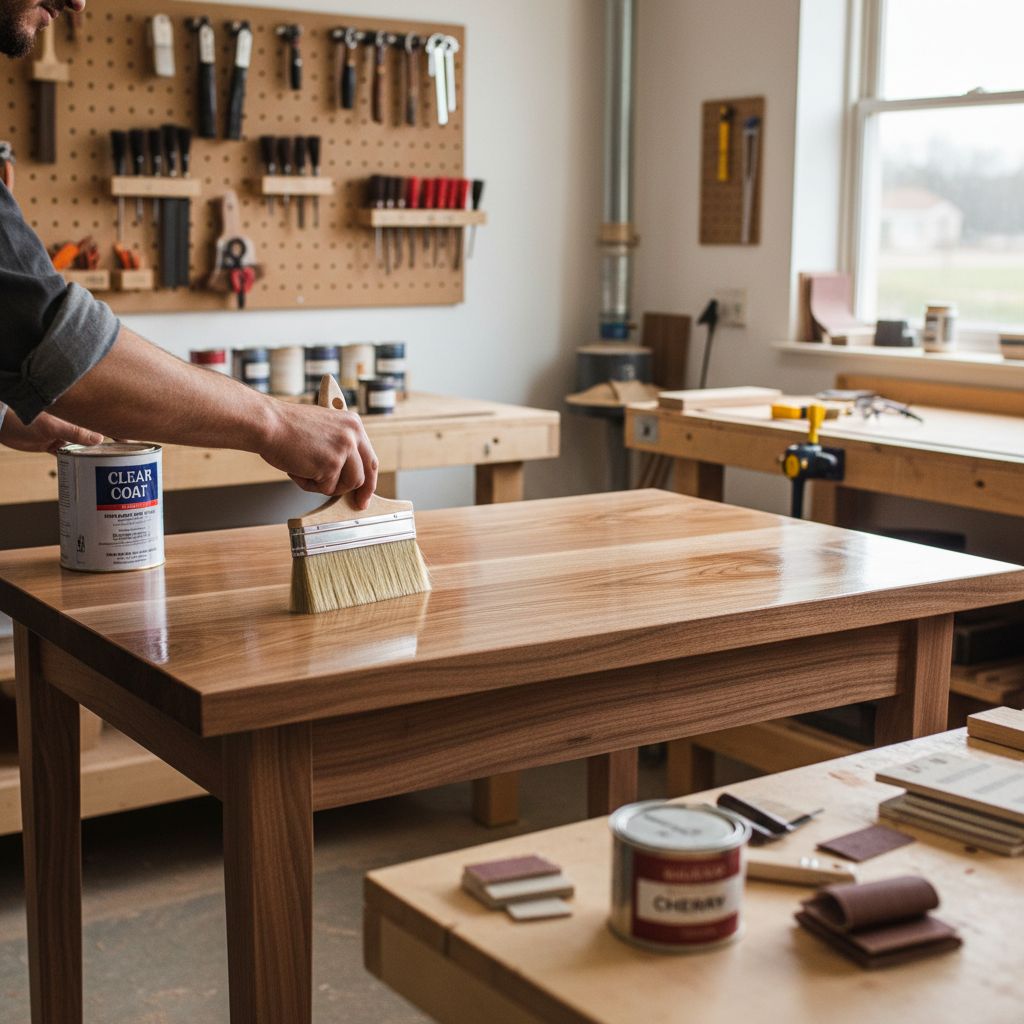
Wood finishing is the final step that transforms a woodworking project from unfinished lumber into a durable, attractive piece. Good finishing techniques protect wood from moisture, dirt, sunlight, and wear while highlighting the wood’s natural grain and color.
For beginners, finishing can seem intimidating, but the process becomes much easier when broken into manageable steps. Understanding the basics allows you to produce professional-looking results without expensive equipment.
Takeaway: Great woodworking doesn’t end with construction—it ends with a quality finish.
Why Is Wood Finishing Important?
Many beginners focus on cutting, assembling, and building but underestimate the importance of finishing. A quality finish provides several benefits.
Benefits of Proper Wood Finishing
- Protects wood from moisture damage
- Reduces scratches and surface wear
- Prevents stains from everyday use
- Enhances wood grain and natural beauty
- Increases the lifespan of furniture and projects
- Makes cleaning easier
Without a protective finish, even well-built furniture can quickly deteriorate.
| Unfinished Wood | Finished Wood |
|---|---|
| Easily absorbs moisture | Resists water damage |
| Scratches easily | Improved durability |
| Appears dull | Rich, vibrant appearance |
| Difficult to clean | Easy to maintain |
| Shorter lifespan | Long-lasting protection |
Takeaway: Finishing is both decorative and protective, making it one of the most valuable woodworking skills to learn.
How Should You Prepare Wood Before Finishing?
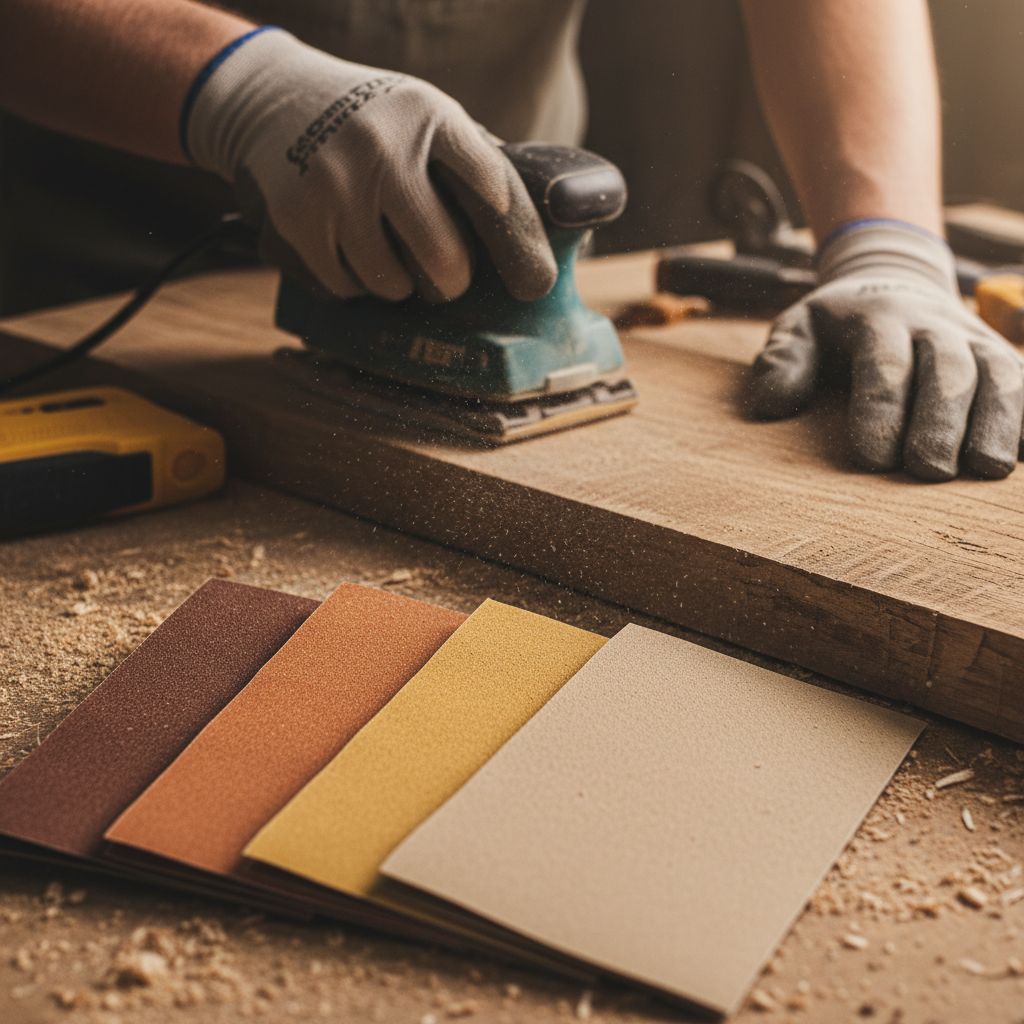
Surface preparation determines the quality of the final finish.
Even premium stains and clear coats cannot hide poor preparation.
Step 1: Inspect the Surface
Look for:
- Glue residue
- Scratches
- Dents
- Pencil marks
- Milling imperfections
Fix these before applying any finish.
Step 2: Sanding Wood Properly
Sanding wood smooths imperfections and creates a surface that accepts finishes evenly.
A common sanding progression is:
- 80-grit (rough shaping)
- 120-grit (surface smoothing)
- 150-grit
- 180-grit
- 220-grit (final sanding)
Always sand with the grain rather than across it to avoid visible scratches.
Step 3: Remove Dust
Dust left behind causes rough finishes.
Use:
- Vacuum
- Tack cloth
- Microfiber cloth
- Compressed air
The cleaner the surface, the smoother the finish.
Takeaway: Most finishing problems begin with poor preparation, not poor products.
What Are the Different Types of Wood Finishes?
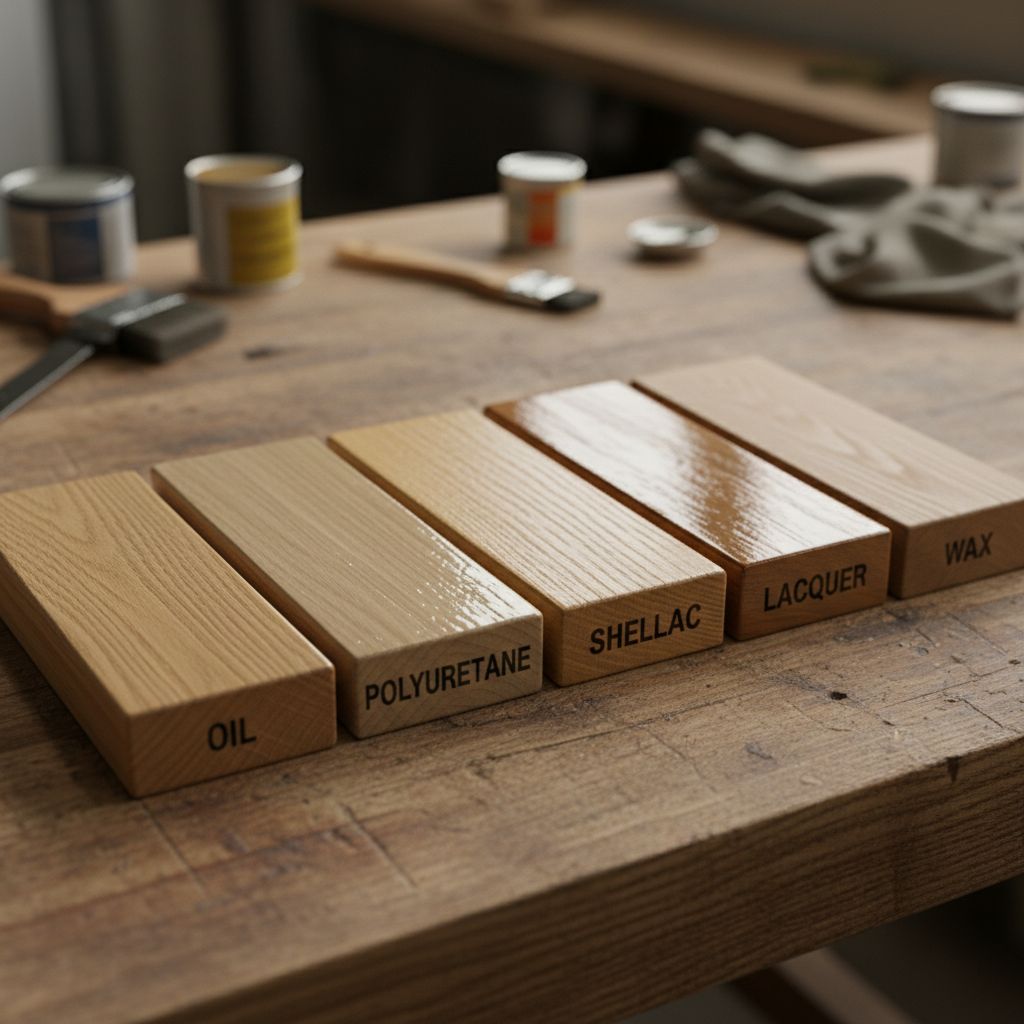
Understanding the main types of wood finishes helps beginners choose the right product for each project.
Oil Finishes
Examples include:
- Tung oil
- Danish oil
- Linseed oil
Advantages:
- Easy to apply
- Enhances grain beautifully
- Natural appearance
Disadvantages:
- Less protective
- Requires maintenance
Best for:
- Decorative furniture
- Indoor projects
- Cutting boards (food-safe oils only)
Polyurethane
One of the most popular beginner finishes.
Advantages:
- Highly durable
- Water-resistant
- Scratch-resistant
Available in:
- Matte
- Satin
- Semi-gloss
- Gloss
Best for:
- Tables
- Cabinets
- Desks
- Shelves
Lacquer
Advantages:
- Dries quickly
- Smooth finish
- Professional appearance
Disadvantages:
- More difficult for beginners
- Strong fumes
Often sprayed rather than brushed.
Shellac
Advantages:
- Fast drying
- Warm appearance
- Easy repairs
Disadvantages:
- Sensitive to heat and water
Common for decorative furniture.
Wax
Wax is usually applied after another finish.
Benefits include:
- Soft sheen
- Smooth feel
- Easy maintenance
However, wax alone offers minimal protection.
Takeaway: Choose finishes based on the project’s purpose, durability needs, and desired appearance.
How Do You Apply Wood Stain Correctly?
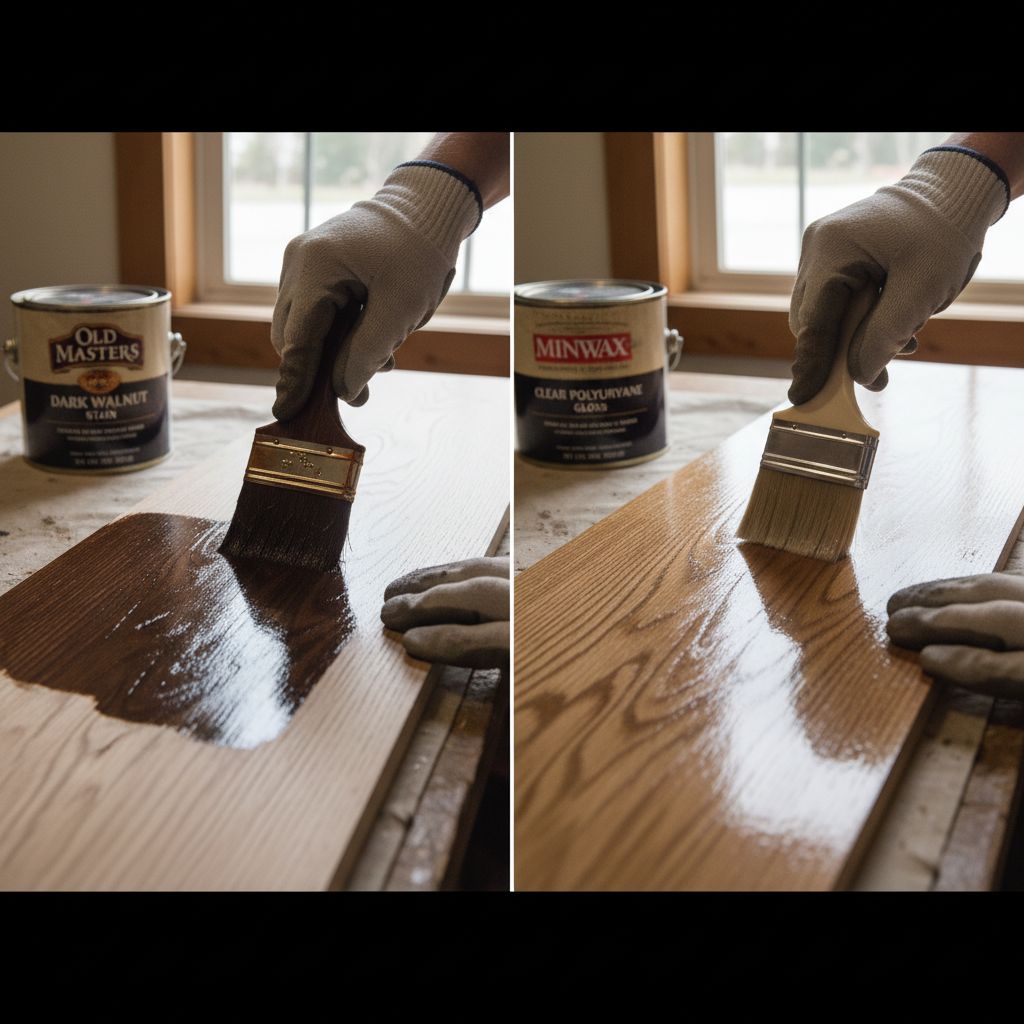
Applying stains is one of the most popular finishing techniques for woodworking because it enhances color while allowing the wood grain to remain visible.
Step-by-Step Guide
1. Stir the Stain
Never shake the can, as shaking introduces bubbles.
2. Test First
Always test the stain on scrap wood from the same project.
Different species absorb stain differently.
3. Apply Evenly
Use:
- Clean cloth
- Foam brush
- Bristle brush
Work with the grain.
4. Wipe Excess
Allow the stain to penetrate for several minutes before wiping away excess with a clean cloth.
Leaving excess stain creates sticky surfaces and uneven coloring.
5. Allow Complete Drying
Follow the manufacturer’s drying recommendations before applying a protective finish.
Takeaway: Patience during staining produces more even, consistent color.
What Are Clear Coats and Why Are They Important?
A stain changes color.
A clear coat provides protection.
Many beginners mistakenly think stain alone finishes a project.
Clear coats protect against:
- Moisture
- UV damage
- Scratches
- Dirt
- Everyday wear
Popular clear coats include:
- Water-based polyurethane
- Oil-based polyurethane
- Lacquer
- Shellac
Apply multiple thin coats rather than one thick coat.
Lightly sand between coats using 320- or 400-grit sandpaper for maximum smoothness.
Takeaway: Clear coats provide the long-term durability every woodworking project needs.
Should Beginners Choose Brush-On or Spray Finishes?
Both methods work well, but each has strengths.
| Feature | Brush-On Finishes | Spray Finishes |
|---|---|---|
| Ease of use | Excellent | Moderate |
| Equipment required | Minimal | Spray gun or aerosol |
| Learning curve | Easy | Moderate |
| Finish quality | Very good | Excellent |
| Intricate projects | Moderate | Excellent |
| Cleanup | Easy | Moderate |
Brush-On Finishes
Ideal for beginners because they require little equipment and provide excellent control.
Best for:
- Furniture
- Tables
- Shelves
- Cabinets
Spray Finishes
Spray finishes create an exceptionally smooth appearance and work well on detailed projects.
Best for:
- Decorative items
- Chairs
- Small boxes
- Intricate carvings
However, spraying requires proper ventilation and more practice.
Takeaway: Beginners generally achieve better results with brush-on finishes before moving to spray techniques.
What Are the Most Helpful Finishing Tips for Beginners?
Following a few simple habits dramatically improves finishing success.
Best Practices
- Work in a dust-free environment.
- Read product instructions carefully.
- Apply several thin coats.
- Allow adequate drying time.
- Sand lightly between coats.
- Avoid rushing the process.
- Use quality brushes and applicators.
- Finish all exposed surfaces evenly.
Temperature and humidity also affect drying, so finish projects in a controlled environment whenever possible.
Takeaway: Consistency and patience produce better finishes than speed.
What Common Finishing Mistakes Should Beginners Avoid?
Even experienced woodworkers occasionally make finishing mistakes.
Common beginner errors include:
Skipping Surface Preparation
Poor sanding leads to blotchy stain and rough finishes.
Applying Thick Coats
Heavy coats dry slowly and often create drips.
Ignoring Drying Times
Applying additional coats too soon traps moisture.
Forgetting Dust Removal
Dust particles become permanently embedded in finishes.
Choosing the Wrong Finish
Indoor decorative finishes may not survive outdoor conditions.
Over-Sanding
Very fine sanding can reduce stain absorption, producing uneven color.
Takeaway: Most finishing problems are preventable with careful preparation and patience.
How Do You Choose the Right Finish for Your Project?
Different woodworking projects require different finishing approaches.
| Project | Recommended Finish |
|---|---|
| Dining table | Polyurethane |
| Coffee table | Polyurethane |
| Decorative shelf | Danish oil + wax |
| Picture frame | Shellac |
| Outdoor furniture | Exterior spar urethane |
| Wooden toys | Food-safe oil or water-based finish |
| Decorative boxes | Lacquer |
When choosing among the various wood treatment techniques, consider:
- Indoor or outdoor use
- Desired appearance
- Maintenance requirements
- Durability
- Ease of application
Takeaway: Match the finish to the project’s intended use rather than appearance alone.
Common Questions About Finishing Techniques for Woodworking
Do I always need to sand before finishing?
Yes. Sanding removes imperfections and helps stains and finishes adhere evenly.
Can I stain wood without applying a clear coat?
You can, but the wood will have little protection against moisture and wear.
Is water-based or oil-based polyurethane better?
Water-based polyurethane dries faster and stays clear, while oil-based polyurethane offers a warmer color and exceptional durability.
How many coats of finish should I apply?
Most projects benefit from two to four thin coats.
Should I sand between finish coats?
Yes. Light sanding between coats creates better adhesion and a smoother final surface.
Can beginners use spray finishes?
Yes, but brush-on finishes are generally easier to master first.
Why does my stain look blotchy?
Uneven sanding, poor surface preparation, or naturally blotch-prone woods like pine are common causes.
How long should finishes dry?
Drying times vary by product, temperature, and humidity. Always follow the manufacturer’s instructions.
Why This Matters
Learning finishing techniques for woodworking is about more than making projects look attractive. Proper finishing preserves your work, extends its lifespan, and reflects the craftsmanship invested in every piece.
Many beginners judge their woodworking abilities based on the final appearance, but experienced woodworkers know that careful preparation, patience, and the right finishing methods often make the biggest difference.
Developing confidence with wood finishing also opens the door to more advanced techniques, including layered finishes, specialty stains, and custom color matching.
By mastering these foundational skills early, you’ll produce projects that not only look professional but also stand the test of time.
FAQ
What are the basic finishing techniques every beginner woodworker should know?
Beginners should learn how to prepare surfaces, sand wood properly, apply stains evenly, seal projects with clear coats, and choose the correct finish for each application. These foundational skills improve both appearance and durability.
What is the best finish for beginner woodworking projects?
Water-based polyurethane is often the best choice for beginners because it dries quickly, is easy to apply, produces minimal odor, and provides excellent protection for most indoor woodworking projects.
Why is sanding important before finishing wood?
Sanding removes scratches, smooths the surface, and allows stains and finishes to penetrate evenly. Proper sanding creates a more professional appearance and reduces common finishing problems like blotchy color or rough textures.
Should I use brush-on or spray finishes as a beginner?
Brush-on finishes are usually the better option for beginners because they require less equipment, provide greater control, and are easier to apply successfully. Spray finishes become useful once basic finishing skills are established.
How many coats of finish should wood receive?
Most woodworking projects benefit from two to four thin coats of finish. Applying multiple light coats with light sanding between each coat creates a smoother, stronger, and more durable protective finish.
Final Summary
Every beginner woodworker should understand that successful wood finishing begins long before opening a can of stain or polyurethane.
Proper sanding wood techniques, careful surface preparation, selecting the appropriate types of wood finishes, applying stains evenly, and protecting projects with durable clear coats all contribute to professional-quality results.
Whether you choose brush-on finishes for simplicity or eventually move to spray finishes for flawless surfaces, mastering these essential finishing techniques for woodworking will dramatically improve both the appearance and longevity of every project.
Start with the fundamentals, practice patiently, and each finished piece will showcase your growing craftsmanship.
Understanding wood finishing is easier when you reference trusted industry resources. WOOD Magazine offers practical finishing tutorials, the U.S. Forest Service Forest Products Laboratory provides research-backed guidance on wood properties and finishes, and the Popular Woodworking website features expert techniques, product reviews, and project advice for woodworkers of all skill levels.
Ready to build better woodworking projects faster? Discover the proven shortcuts, expert plans, and beginner-friendly techniques at https://besthomeshed.com/WoodworkingShortcut/ and take your woodworking skills to the next level today.